''"Tonight, the pleasure quarter belongs to [[Zonda]]. As Gunvolt chases the lustful menace down, he crosses paths with an avenger..."''
+
| Japanese |
+
<poem>
+
真夜中の歓楽街に踊る愛欲の蠍
+
“{{Furi|色惑う夢幻鏡|ラストミラージュ}}”
+
狂う色欲を追う最中蒼き雷霆は{{Furi|復讐者|リベンジャー}}と邂逅する
+
</poem>
+
| Fan translation |
+
<poem>
+
The lustful scorpion dancing through the midnight red-light district…
+
The “Lustful Phantom Mirror (Lust Mirage)”…
+
The Azure Thunderclap meets the avenger (revenger) while chasing the mad lust…
+
</poem>
+
}}
+
'''Kaleidoscape''' is an intermission mission in ''[[Azure Striker Gunvolt]]'', taking place in the stage '''Sinner's Row'''. Following the defeat of any three bosses, as Gunvolt is preparing for bed he receives an emergency call from QUILL. [[Zeno]] was injured while pursuing [[Zonda]] in a nearby district, and now it's up to GV to continue the mission and hunt down the Sumeragi Adept Hunter unit commander.
[[File:Sinner's_Row.png|thumb]]''Tonight, the pleasure quarter belongs to Zonda. As Gunvolt chases the lustful menace down, he crosses paths with an avenger...''- '''Flavor Text'''
+
The stage's associated song, [[Sakura Efflorescence]], was only added to the game in version 1.2. Unlike other stage songs, there is no audiolocket for it that can be unlocked.
+
==Enemies==
+
{| class="article-table"
+
|-
+
! scope="col"|Image
+
! scope="col"|Enemy
+
|-
+
|[[File:Copen hooded.png|center]]
+
|[[Copen "The Adept Slayer"]] (boss)
+
|-
+
|[[File:Sumeragi gunner.png|center]]
+
|Sumeragi Gunner
+
|-
+
|[[File:Turret.png|center]]
+
|Roll Cannon
+
|-
+
|[[File:Sumeragi launcher.png|center]]
+
|Sumeragi Launcher
+
|-
+
|[[File:Sentry blaster.png|center]]
+
|Sentry Unit (gun)
+
|-
+
|[[File:Sumeragi burner.png|center]]
+
|Sumeragi Fire Gunner
+
|-
+
|[[File:Flying shooter.png|center]]
+
|Flying Drone
+
|-
+
|[[File:Sentry chainsaw.png|center]]
+
|Sentry Unit (chainsaw)
+
|-
+
|[[File:Spine tower.png|center]]
+
|Brush Saw
+
|-
+
|[[File:Tower enemy.png|center]]
+
|Tower Tank
+
|-
+
|[[File:Beam launcher.png|center]]
+
|Laser Drone
+
|-
+
|[[File:Sumeragi shield.png|center]]
+
|Sumeragi Grenadier
+
|}
−
== '''Intro''' ==
−
'''Sinner's''' '''Row''' (''Red-light'' ''District'' in Japan) is the location of a mission in ''[[Azure Striker Gunvolt]]'', codenamed "''Kaleidoscape''". Gunvolt must chase down Zonda, a dangerous adept of Sumeragi's that has slipped inside after defeating Zeno.
+
==Rank and Time Requirements==
−
=='''Briefing'''==
+
===Rank===
−
'''Moniqa:''' Sorry for pinging you in the middle of the night... Your target has fled into the sketchy side of a town nearby. You can thank the said target for taking Zeno out of the game. Proceed with extreme caution...
* The stage's main gimmick is the pink mirrors floating in midair, created by Zonda's septima. Using these mirrors, Zonda weaves a labyrinth of disconnected stage segments, featuring new enemy placements, gauntlet rooms, and even upside-down segments.
* The stage's main gimmick is the pink mirrors floating in midair, created by Zonda's septima. Using these mirrors, Zonda weaves a labyrinth of disconnected stage segments, featuring new enemy placements, gauntlet rooms, and even upside-down segments.
** You can tell whether or not you chose the right path by Zonda screaming ''"Waga ai yo!" ''('''Lit.''' "''This is'' ''my LOVE!"'')
** You can tell whether or not you chose the right path by Zonda screaming ''"Waga ai yo!" ''('''Lit.''' "''This is'' ''my LOVE!"'')
Line 17:
Line 107:
* This stage features a lot of bottomless pits. Carefully navigate the rooftops using the neon signs as platforms, and be careful about the enemies that appear.
* This stage features a lot of bottomless pits. Carefully navigate the rooftops using the neon signs as platforms, and be careful about the enemies that appear.
* A number of cable launchers hang nearby large pits or gaps. Shock them with Flashfield to make them launch a wire that you can stand on. Just don't stand in front of them as they fire; or else you'll take damage.
* A number of cable launchers hang nearby large pits or gaps. Shock them with Flashfield to make them launch a wire that you can stand on. Just don't stand in front of them as they fire; or else you'll take damage.
+
* In the Nintendo Switch ''[[Striker Pack]]'', the area after the screen is first flipped was given a floor.
−
==Boss: [[Copen "The Luminous Avenger iX"|'''Copen "The Adept Slayer"''']]==
+
==Boss: [[Copen "The Adept Slayer"]]==
−
At the end of the stage, you will find Zonda killed by Copen, who will be your ''actual'' opponent. Depending on the previous three Sumeragi bosses you've defeated, Copen will use attacks based off of theirs. See [https://azurestrikergunvolt.fandom.com/wiki/Copen_%22The_Luminous_Avenger_iX%22#Special_Attacks this page] for more details on how to properly combat these attacks. At this point in the game, Copen will only use three of the below attacks based on the player's own trio of defeated bosses. However, which of these attacks he'll use, when, and how frequently, are completely up to RNG.
+
At the end of the stage, you will find Zonda killed by Copen, who will be your ''actual'' opponent. Depending on the previous three Sumeragi bosses you've defeated, Copen will use attacks based off of theirs. See [[Copen#Boss Battle Skills|this page]] for more details on how to properly combat these attacks. At this point in the game, Copen will only use three of the below attacks based on the player's own trio of defeated bosses. However, which of these attacks he'll use, when, and how frequently, are completely up to RNG.
*'''Merak:''' Lazy Laser
*'''Merak:''' Lazy Laser
−
*'''Carrera:''' PowerGrab
+
*'''Carrera:''' Greed Snatcher
*'''Jota:''' Arrogant Radiance
*'''Jota:''' Arrogant Radiance
*'''Elise:''' Gorgon Gaze
*'''Elise:''' Gorgon Gaze
Line 30:
Line 121:
Despite Doppler Desire being the move he acquires from [[Zonda]], he will not use this skill in Sinner's Row, likely because he hasn't had time to input it into his attack moveset yet.
Despite Doppler Desire being the move he acquires from [[Zonda]], he will not use this skill in Sinner's Row, likely because he hasn't had time to input it into his attack moveset yet.
−
=='''Jewel Location'''==
+
==Jewel Location==
+
===Original===
[[File:Jewel Sinner's Row.jpg|thumb|220x220px]]
[[File:Jewel Sinner's Row.jpg|thumb|220x220px]]
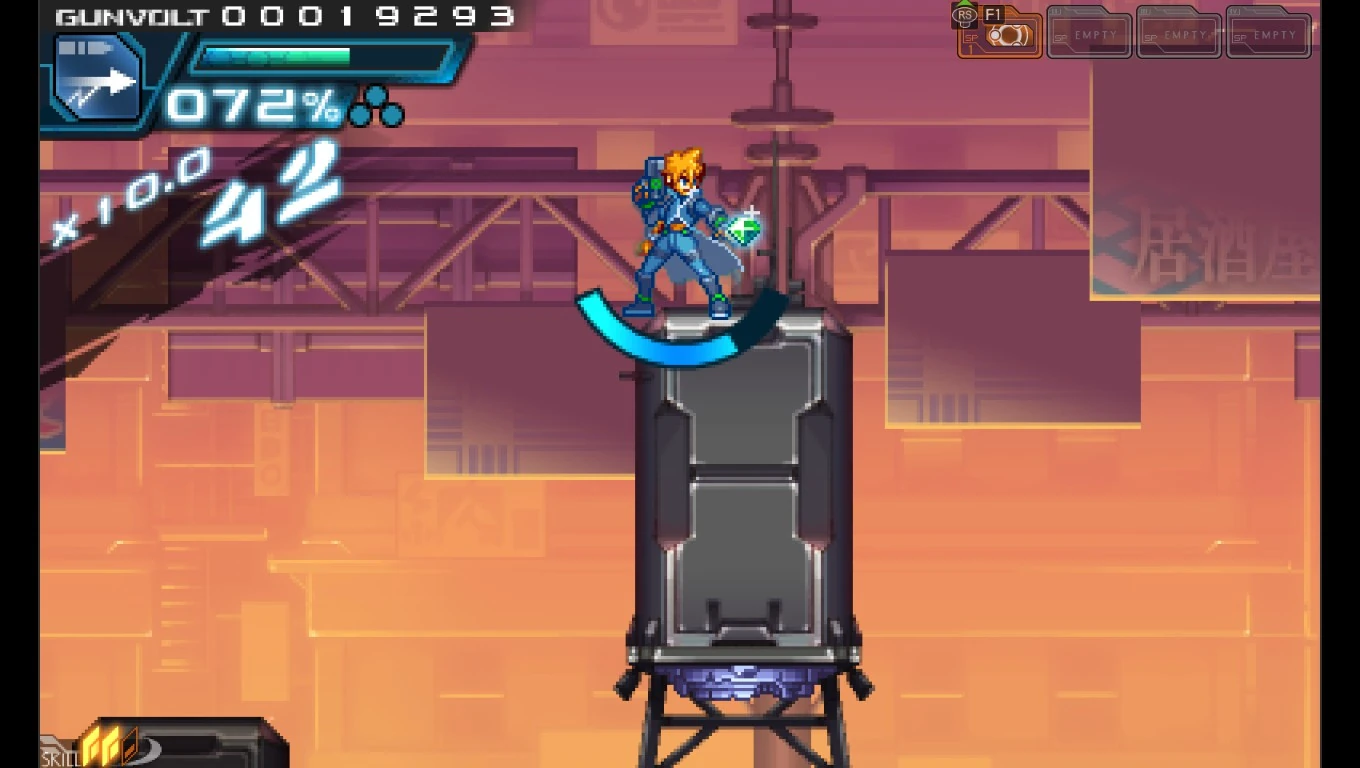
After one of the enemy ambushes, climb up the tower-like structure by either gliding off the nearby floating platform or double jumping.
After one of the enemy ambushes, climb up the tower-like structure by either gliding off the nearby floating platform or double jumping.
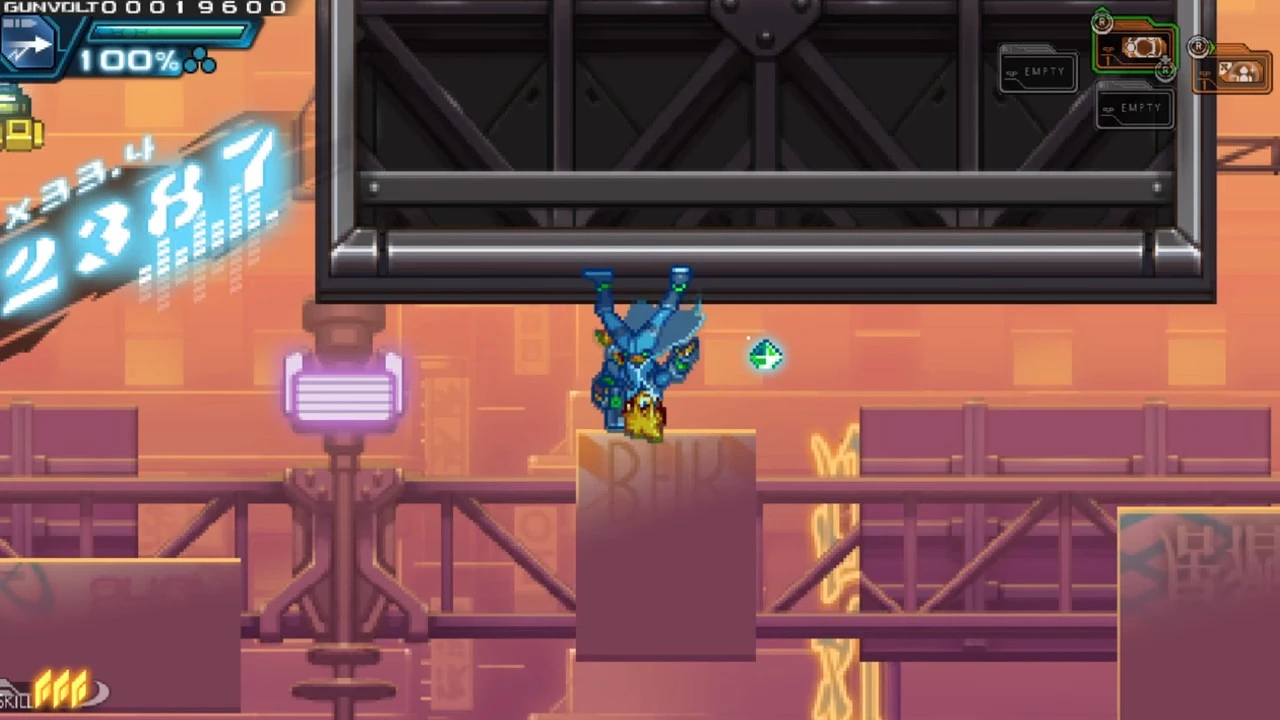
In the Nintendo Switch version of the ''[[Striker Pack]]'', the jewel's location was placed further in the stage in an easier to reach location. It's right after the mirror which flips the screen upside down, on top of a roof reachable by the nearby hovering platform.
+
<br style="clear:both" />
−
== '''Challenges''' ==
+
== Challenges ==
* '''Sleazy Breezy:''' Clear in 8 minutes or less. (Reward: Garnet x8)
* '''Sleazy Breezy:''' Clear in 8 minutes or less. (Reward: Garnet x8)
* '''Quick 'n' Dirty:''' Clear in 5 minutes or less. (Reward: Yellow Chalcedony x1)
* '''Quick 'n' Dirty:''' Clear in 5 minutes or less. (Reward: Yellow Chalcedony x1)
Line 44:
Line 141:
* '''Look, Ma!:''' Clear without activating any wire bridges. (Reward: Graym Extract 239 x1)
* '''Look, Ma!:''' Clear without activating any wire bridges. (Reward: Graym Extract 239 x1)
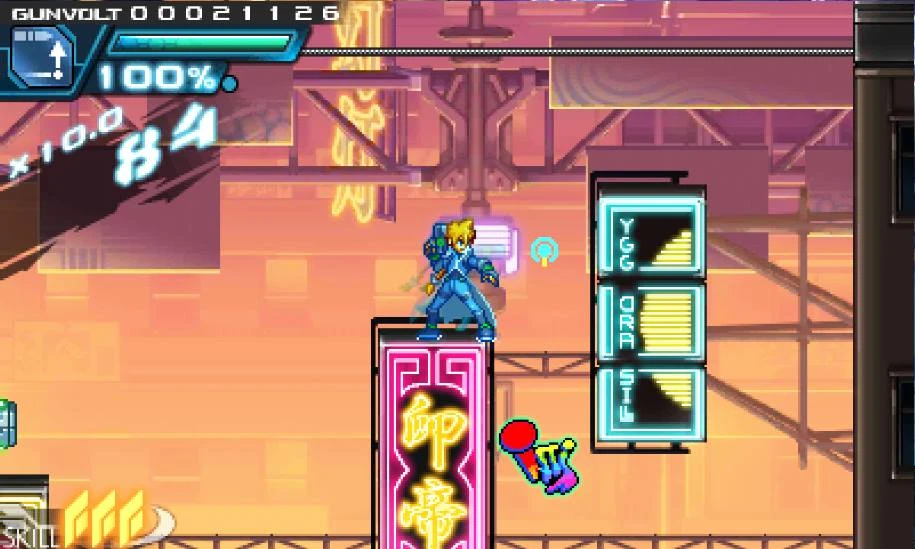
*[[File:ZondaSecretIcon.jpg|thumb|292px]]This stage contains a secret icon that can be uncovered by shooting it five times with Mizuchi, and, when revealed, it will set the player's Kudos to 1000. This icon is [[Inti Creates]]' logo.
*[[File:ZondaSecretIcon.jpg|thumb|200px]]This stage contains a secret icon that can be uncovered by shooting it five times with Mizuchi, and, when revealed, it will set the player's Kudos to 1000. This icon is [[Inti Creates]]' logo.
−
{{ASGstageNAV
+
**The sign it is next to says 印帝, which is pronounced "Intei", was used in a logo test video in their first game ''Speed Power Gunbike'', and has appeared throughout the ''Gunvolt'' series. In ''[[Azure Striker Gunvolt 3]]'', Intei (localized as Interior Creators in the English version) is said to be a front company for [[Shadow Yakumo]].
"Tonight, the pleasure quarter belongs to Zonda. As Gunvolt chases the lustful menace down, he crosses paths with an avenger..."
真夜中の歓楽街に踊る愛欲の蠍
“色惑う夢幻鏡”
狂う色欲を追う最中蒼き雷霆は復讐者と邂逅する
The lustful scorpion dancing through the midnight red-light district…
The “Lustful Phantom Mirror (Lust Mirage)”…
The Azure Thunderclap meets the avenger (revenger) while chasing the mad lust…
Kaleidoscape is an intermission mission in Azure Striker Gunvolt, taking place in the stage Sinner's Row. Following the defeat of any three bosses, as Gunvolt is preparing for bed he receives an emergency call from QUILL. Zeno was injured while pursuing Zonda in a nearby district, and now it's up to GV to continue the mission and hunt down the Sumeragi Adept Hunter unit commander.
The stage's associated song, Sakura Efflorescence, was only added to the game in version 1.2. Unlike other stage songs, there is no audiolocket for it that can be unlocked.
The stage's main gimmick is the pink mirrors floating in midair, created by Zonda's septima. Using these mirrors, Zonda weaves a labyrinth of disconnected stage segments, featuring new enemy placements, gauntlet rooms, and even upside-down segments.
You can tell whether or not you chose the right path by Zonda screaming "Waga ai yo!" (Lit. "This ismy LOVE!")
This is easier in versions with in-stage dialogue due to Zonda's commentary.
This stage features a lot of bottomless pits. Carefully navigate the rooftops using the neon signs as platforms, and be careful about the enemies that appear.
A number of cable launchers hang nearby large pits or gaps. Shock them with Flashfield to make them launch a wire that you can stand on. Just don't stand in front of them as they fire; or else you'll take damage.
In the Nintendo Switch Striker Pack, the area after the screen is first flipped was given a floor.
At the end of the stage, you will find Zonda killed by Copen, who will be your actual opponent. Depending on the previous three Sumeragi bosses you've defeated, Copen will use attacks based off of theirs. See this page for more details on how to properly combat these attacks. At this point in the game, Copen will only use three of the below attacks based on the player's own trio of defeated bosses. However, which of these attacks he'll use, when, and how frequently, are completely up to RNG.
Merak: Lazy Laser
Carrera: Greed Snatcher
Jota: Arrogant Radiance
Elise: Gorgon Gaze
Viper: Blazing Bombers
Stratos: Flesh Eater
Despite Doppler Desire being the move he acquires from Zonda, he will not use this skill in Sinner's Row, likely because he hasn't had time to input it into his attack moveset yet.
Jewel Location
Original
After one of the enemy ambushes, climb up the tower-like structure by either gliding off the nearby floating platform or double jumping.
The Jewel rests at the top.
Updated
In the Nintendo Switch version of the Striker Pack, the jewel's location was placed further in the stage in an easier to reach location. It's right after the mirror which flips the screen upside down, on top of a roof reachable by the nearby hovering platform.
Challenges
Sleazy Breezy: Clear in 8 minutes or less. (Reward: Garnet x8)
Quick 'n' Dirty: Clear in 5 minutes or less. (Reward: Yellow Chalcedony x1)
Upside Downfall: Clear with a rank of B or higher. (Reward: Graym Culture x8)
Hard Rocker: Clear with a rank of S or higher. (Reward: Graym Extract 239 x1)
Last Man Standing: Clear with a rank of S+. (Reward: Graym Extract 239 x5)
Use Xyr Illusion: Clear using the shortest possible route. (Reward: Yellow Chacledony x1)
Look, Ma!: Clear without activating any wire bridges. (Reward: Graym Extract 239 x1)
Gallery
Stage Select Icon
Stage Select Backdrop
One of the stage's backgrounds
Where Copen is fought
Secret Logo
Trivia
This stage contains a secret icon that can be uncovered by shooting it five times with Mizuchi, and, when revealed, it will set the player's Kudos to 1000. This icon is Inti Creates' logo.
The sign it is next to says 印帝, which is pronounced "Intei", was used in a logo test video in their first game Speed Power Gunbike, and has appeared throughout the Gunvolt series. In Azure Striker Gunvolt 3, Intei (localized as Interior Creators in the English version) is said to be a front company for Shadow Yakumo.


")
")
")
")
")
")

