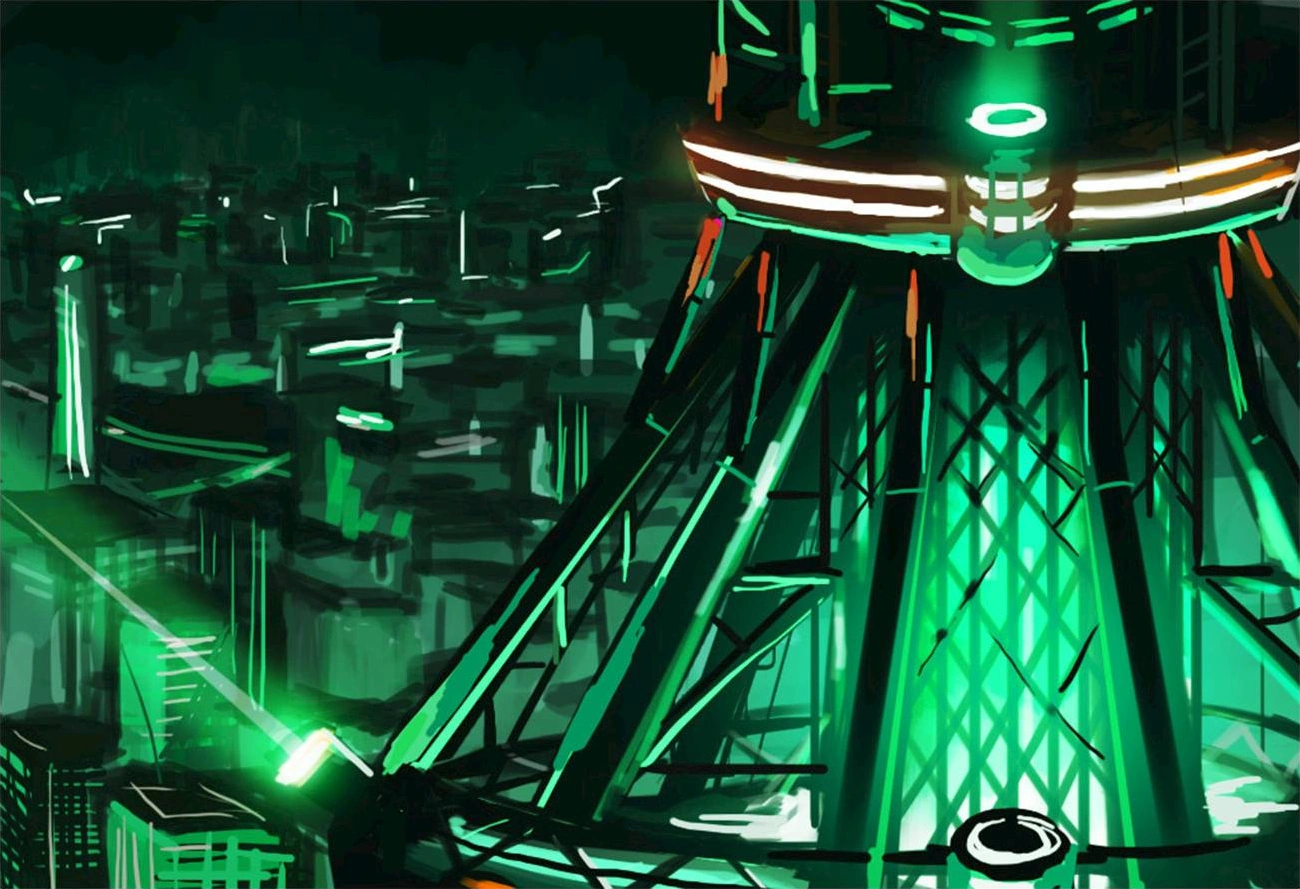
TheMediaTower is a mission in Azure Striker Gunvolt, codenamed "Minaret". Gunvolt's objective is to sabotage the tower, which broadcasts both Lumen's Anthem and Sumeragi's propaganda.
In the english version it's known as "UTU Media Tower" while in the Japanese version it's known as "GrandRadioTowerAmaterasu", named after the Goddess of Sun in Japanese mythology.
Briefing
Gunvolt: What am I up against this time, Asimov?

Asimov: You know Utu Media Tower? Sumeragi broadcasted the Muse's songs from there. I need you to scale the tower's exterior and subdue any threats. I'll commence my attack from the inside, and work my way through that way. Right now, Utu is back to broadcasting Sumeragi's typical media drivel. Joule will probably feel more at ease once we shut this operation down.

Gunvolt: Asimov...

Asimov: Of course, this is gonna be no walk in the park. Many dangers are present. I'll be expecting great things from you.
Stage Composition
The stage itself is a primarily vertical ascent to the top, where the boss Jota awaits.
Various linear catapults are located in the level, ostensibly for cargo transport across the tower. There aren't too many long footholds on the exterior of the tower, and a fall is easily instant death. Some of the catapults have been converted into traps. Some merely push you back, other maliciously toss you into spikes. Thankfully, none are made to launch you into the abyss. The Hexapyle takes you through a shortcut in the tower that leads back outside the tower.
The second half of the stage takes place primarily on the tower's exterior, where there exist many "chains" of launchers that boost Gunvolt to great heights, and are required to be used unless certain Equipment that grant air hops are worn. However, be wary that you may be ambushed by enemies at the end of these launcher chains. Other than that, it's a simple enough ascent. Don't forget to grab the gem that's right below the Hexapyle that leads to Jota, though.
At the top of this massive media tower, its protector and member of the Sumeragi Seven, Jota "The Prideful Silhouette", lies in wait. His aptly-named Septima, "Lightspeed", allows him to move around so fast it's almost like he's teleporting. As such, the only way you can damage him is while he's stopping to attack. Luckily, his attacks are relatively simple to dodge. He starts off by using two main attacks, Luminous Rain and Calamity Ripper. Luminous Rain is a laser attack that can be dodged with a quick jump and use of the Flashfield, and Calamity Ripper is dodged by just having the Flashfield active while the lances shoot towards you.
In his second phase, he unleashes two more attacks, these being Flash Stinger and Judgement Ray. Flash Stinger is similar to Calamity Ripper in that the lances can be deflected by the Flashfield, but Jota himself dashes forward first and must be jumped over. Judgement Ray, on the other hand, must be avoided by going behind Jota quickly before he attacks. Unfortunately his laser bots block any darts shot at him from behind unless you time your shots just right, or use the Naga clip. He also tends to modify his Luminous Rain attack in this phase so that the lasers fire one at a time instead of all at once, so be wary.
In his third phase, he finally unleashes his Offensive Skill, Phosphoratorium. This attack seems very intimidating at first, as he will cover the entire top half of the screen with dark light that damages you if you touch it, then he dashes forward, creating a seemingly unavoidable attack. However, it is dodgeable via two methods: jumping behind him right before he manifests the blade, or by mowing him down with darts and using the Flashfield, which will slow him down just in time to dodge, as the dark light across the top of the screen will disappear right as he gets to you.
Challenges
Aerial Daredevil: Clear in 7 minutes or less. (Reward: Kripp Alloy x8)
Light Speed Ascent: Clear in 4 minutes or less. (Reward: Custom Servophoton x1)
Bane of Icarus: Clear with a rank of B or higher. (Reward: Graym Culture x8)
Steal Back the Sun: Clear with a rank of S or higher. (Reward: Propulsion Mechanism x1)
Media Blackout: Clear with a rank of S+. (Reward: Propulsion Mechanism x5)
Waste Not Launch Not: Clear using catapults 20 times or less. (Reward: Custom Servophoton x2)
Angel of Mercy: Clear without defeating any enemies besides Jota. (Reward: Propulsion Mechanism x1)
Trivia
There exists a secret icon in the second half of the stage that can be accessed by shooting an area with Mizuchi five times, and will set your Kudos to 1000. This icon is of Comcept's mascot pig, Comcept being the company behind Mighty No. 9.


")