Revision as of 19:43, 1 February 2020 by AzureStriker2014(talk | contribs)(Found a minor grammar error in the sentence there is a chance for a while flag to pop out of where the Mantis' core would be. Changed the word while to white to correct the grammar error.)
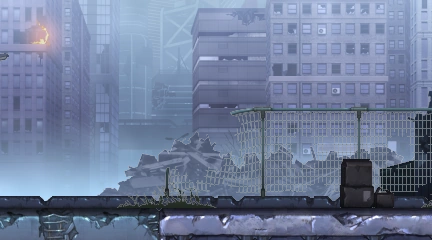
Lola:The slums outside of Sumeragi-controlled sectors are in a sorry state. It's all because of those Sumeragi dirtbags hunting down Minos. I just hope there are some survivors...
Stage Composition
As more or less a tutorial stage, there's no real gimmicks to this level. So long as you maintain your supply of Bullits and don't drop down one of the pits, you should be fine.
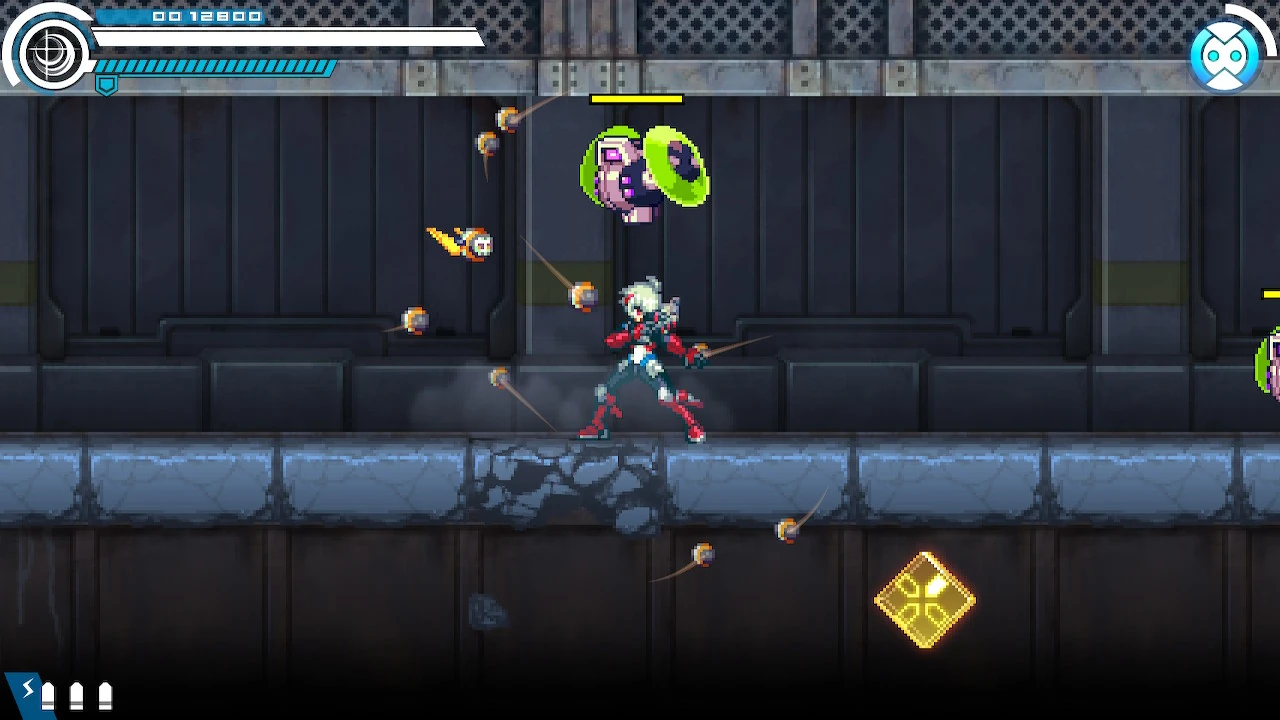
The Mantis Zombie is fairly easy. Just keep your Flashfield up to avoid most of his attacks and keep whaling on him with tags and shots.
Blade is a bit more challenging by simple fact you cannot shoot them head-on. You'll need to weave between the slashes to get a tag in. Also the Stellar Spark doesn't do damage.
Emblem Locations
Image
Notes
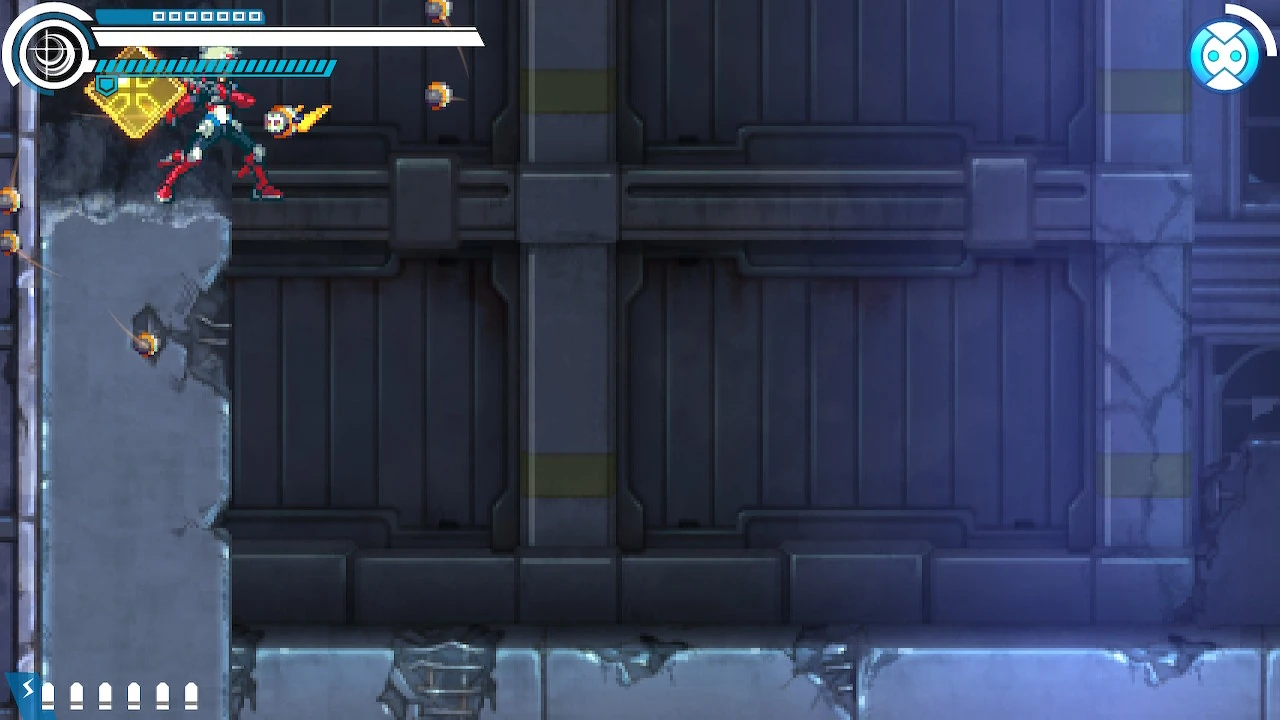
Hidden behind a false wall to the upper left of where Copen starts.
Caution is advised.
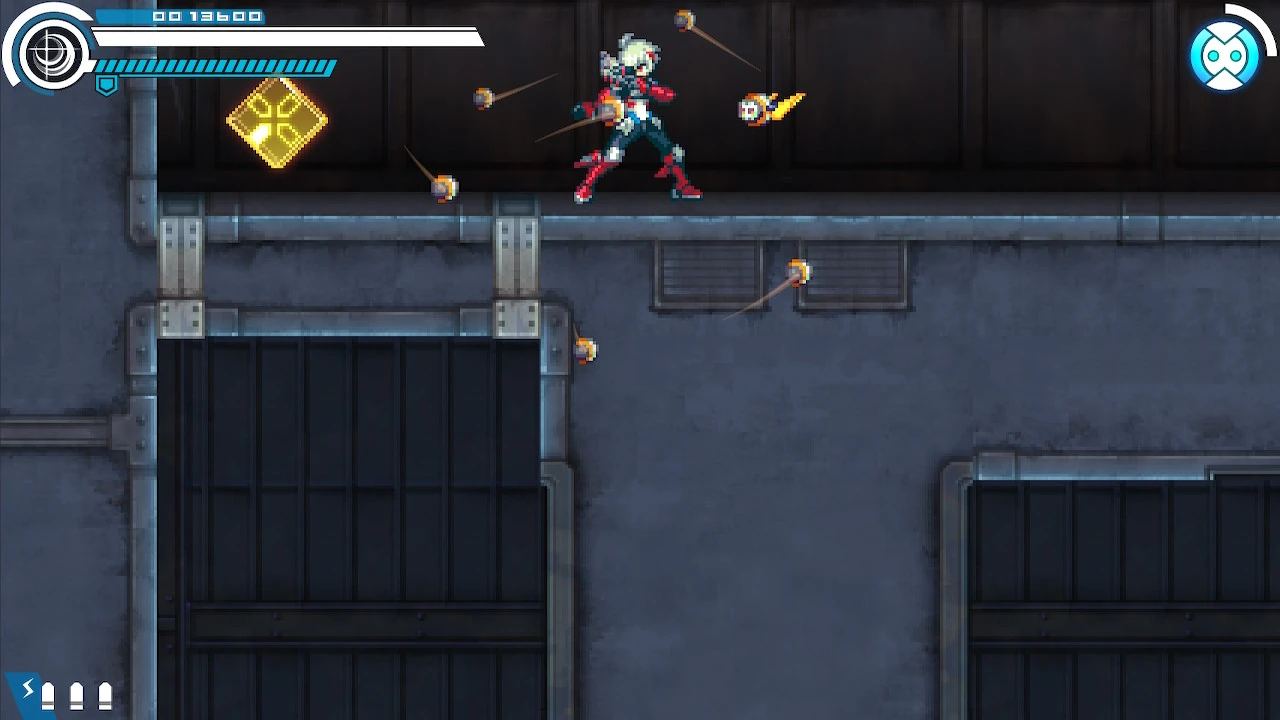
Reached by going up through a false ceiling in the shaft on the right.
Behind the hexapyle.
Trivia
Using Impact Reload before the second checkpoint will cause a statue of Romeo to appear and hit it.
When the Mantis Zombie is defeated, there is a chance for a white flag to pop out of where the Mantis' core would be.


.png)